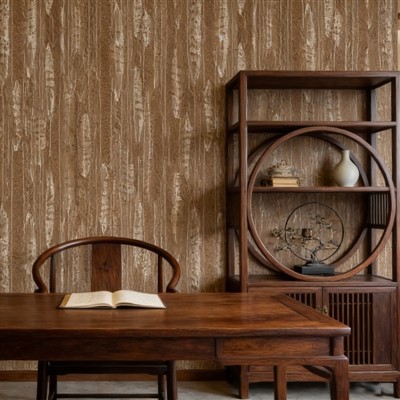
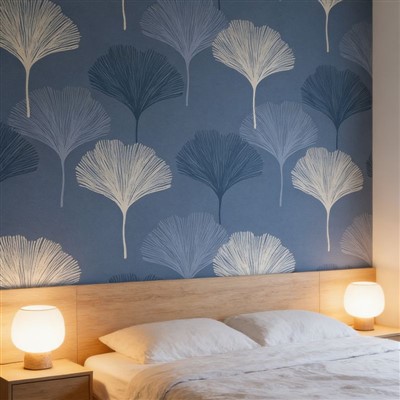
As a supplier of flexible printable vinyl wall cloth, I've witnessed firsthand the transformative power it brings to interior spaces. However, like any installation process, there can be challenges along the way. In this blog post, I'll share some practical tips on how to troubleshoot common problems with flexible printable vinyl wall cloth installation.
1. Wrinkles and Bubbles
One of the most common issues during installation is the appearance of wrinkles and bubbles. These can occur due to improper handling, uneven application, or trapped air.
Solution:
- Pre - preparation: Before installation, make sure the wall surface is clean, dry, and smooth. Remove any dust, dirt, or grease that could interfere with the adhesion.
- Proper application technique: Start from the top of the wall and gradually unroll the vinyl wall cloth, using a squeegee to smooth it down as you go. Work from the center outwards to push out any trapped air. If bubbles do appear, use a pin to prick them and then smooth the area with the squeegee.
- Use a heat gun (if applicable): For stubborn wrinkles, a heat gun can be used. Hold the heat gun about 6 - 8 inches away from the vinyl and gently heat the wrinkled area. As the vinyl warms up, it becomes more pliable, and you can smooth out the wrinkles with a squeegee.
2. Poor Adhesion
Poor adhesion can lead to the vinyl wall cloth peeling off over time. This can be caused by a dirty wall surface, low - quality adhesive, or improper application.
Solution:
- Surface preparation: As mentioned earlier, a clean and dry wall is essential for good adhesion. Use a mild detergent to clean the wall and rinse it thoroughly. Allow the wall to dry completely before installation.
- Choose the right adhesive: If your vinyl wall cloth is self - adhesive, make sure it has a high - quality adhesive. If it requires a separate adhesive, choose one that is specifically designed for vinyl wall coverings.
- Proper pressure application: When applying the vinyl wall cloth, use a squeegee to apply even pressure across the entire surface. This helps to ensure that the adhesive bonds properly with the wall.
3. Color Fading
Over time, the color of the vinyl wall cloth may fade, especially if it is exposed to direct sunlight or harsh chemicals.
Solution:
- Choose high - quality materials: When selecting vinyl wall cloth, opt for products that are UV - resistant. Our Glossy Printable Vinyl Wallpaper is designed to resist fading, even in areas with high sunlight exposure.
- Avoid direct sunlight: If possible, install the vinyl wall cloth in areas that are not directly exposed to sunlight. You can also use curtains or blinds to protect the wall from excessive sunlight.
- Clean with gentle products: Use mild, non - abrasive cleaning products to clean the vinyl wall cloth. Harsh chemicals can damage the surface and cause color fading.
4. Seam Visibility
When installing multiple pieces of vinyl wall cloth, seams can be visible, which can affect the overall aesthetic of the wall.
Solution:
- Proper cutting and alignment: Measure and cut the vinyl wall cloth accurately to ensure a tight fit. When aligning the seams, make sure they are straight and overlap slightly.
- Use a seam sealer: Apply a seam sealer to the seams to make them less visible. This can help to create a seamless look on the wall.
- Choose a pattern that hides seams: Some patterns, such as large - scale prints or textured designs, can help to hide the seams more effectively.
5. Difficulty in Removing the Vinyl Wall Cloth
In some cases, you may need to remove the vinyl wall cloth, either for replacement or renovation purposes. However, it can be difficult to remove, especially if it has been installed for a long time.
Solution:
- Use a heat gun: A heat gun can be used to soften the adhesive, making it easier to remove the vinyl wall cloth. Hold the heat gun about 6 - 8 inches away from the vinyl and heat the area for a few seconds. Then, use a putty knife or scraper to gently lift the edge of the vinyl and peel it off.
- Soak the vinyl: If the vinyl is difficult to remove, you can soak it with a mixture of warm water and a mild detergent. Let the solution soak into the vinyl for a few minutes, and then try to peel it off.
- Seek professional help: If you are still having trouble removing the vinyl wall cloth, it may be best to seek the help of a professional installer.
6. Misaligned Patterns
If the patterns on the vinyl wall cloth are not aligned properly, it can create an unappealing look on the wall.
Solution:
- Careful measurement and alignment: Before cutting the vinyl wall cloth, measure the wall accurately and mark the position of the pattern. When installing the vinyl, align the patterns carefully to ensure a seamless look.
- Use a pattern guide: Some vinyl wall cloth comes with a pattern guide that can help you align the patterns more easily. Follow the instructions on the guide to ensure proper alignment.
- Practice on a small area: If you are unsure about how to align the patterns, practice on a small area of the wall first. This will give you a better idea of how to handle the vinyl and align the patterns correctly.
7. Static Electricity
Static electricity can cause the vinyl wall cloth to stick to itself or other surfaces during installation, making it difficult to handle.


Solution:
- Moisten the vinyl: Before installation, lightly mist the vinyl wall cloth with water. This can help to reduce static electricity and make it easier to handle.
- Use an anti - static spray: You can also use an anti - static spray on the vinyl wall cloth. This will help to neutralize the static charge and prevent it from sticking to itself or other surfaces.
Conclusion
Installing flexible printable vinyl wall cloth can be a rewarding project, but it's important to be prepared for potential problems. By following these troubleshooting tips, you can ensure a smooth and successful installation. If you have any further questions or need assistance with your vinyl wall cloth installation, feel free to contact us. We are a leading supplier of Self - Adhesive Print Vinyl for Walls and Vinyl Wall Graphic Material, and we are committed to providing high - quality products and excellent customer service. Whether you are a professional installer or a DIY enthusiast, we can help you find the right solution for your project. Contact us today to discuss your requirements and start transforming your space with our flexible printable vinyl wall cloth.
References
- "Vinyl Wall Covering Installation Guide" - Industry standard installation guidelines.
- "Tips for Troubleshooting Vinyl Wall Cloth Issues" - Various online resources and industry blogs.